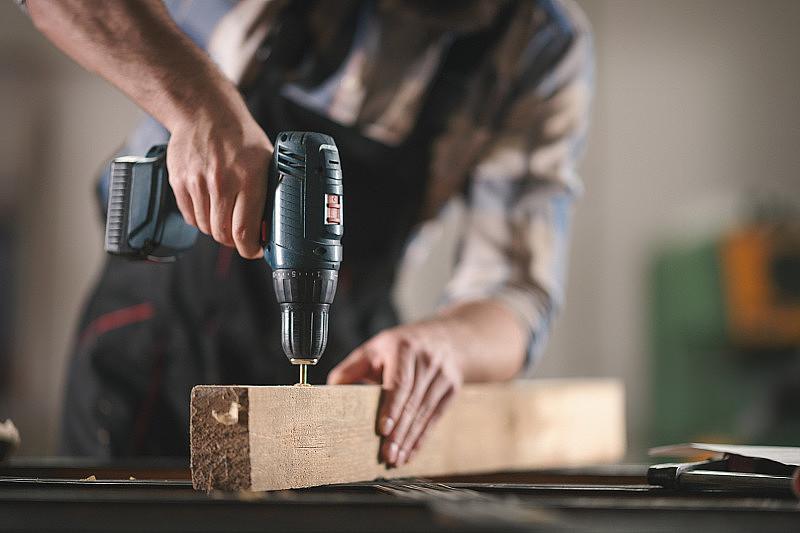
A Must-Read for Beginners! Comprehensive Guide to Correctly Using a Lithium-Ion Drill
Whether you are a novice who has just got your first lithium-ion drill or an experienced user, many people have cognitive blind spots regarding the function settings and correct usage methods of lithium-ion drills. Mastering the core functions and practical skills of a lithium-ion drill can not only improve work efficiency but also ensure safety during use. This guide will start with the core configurations of lithium-ion drills and provide professional answers to frequently asked questions, helping you use Lithium-ion Drillwith ease.

Mainstream lithium-ion drills on the market are basically equipped with the following core components. Understanding the functions of these configurations is the basis for correct use:
Trigger-Speed Control Switch: Controls the rotation speed through the pressure applied. The harder you press, the faster the speed.
Forward/Reverse Toggle: Controls the drill shaft to rotate clockwise (forward rotation, for screwing in screws and drilling holes) or counterclockwise (reverse rotation, for unscrewing screws).
High/Low Speed Gear Shift: Enables the switch between high speed with low torque and low speed with high torque, suitable for different scenarios.
Torque Adjustment Ring: The torque increases from value 1, and the highest gear is the drilling gear or impact gear, which precisely controls the screw tightening force and drilling torque.
Self-Locking Chuck: Quickly fixes or removes screw bits and drill bits without additional tools.
LED Auxiliary Lighting: Provides light in dim environments to ensure precise operation.
Lithium Battery Pack: Comes with a power display for intuitive understanding of the remaining power.
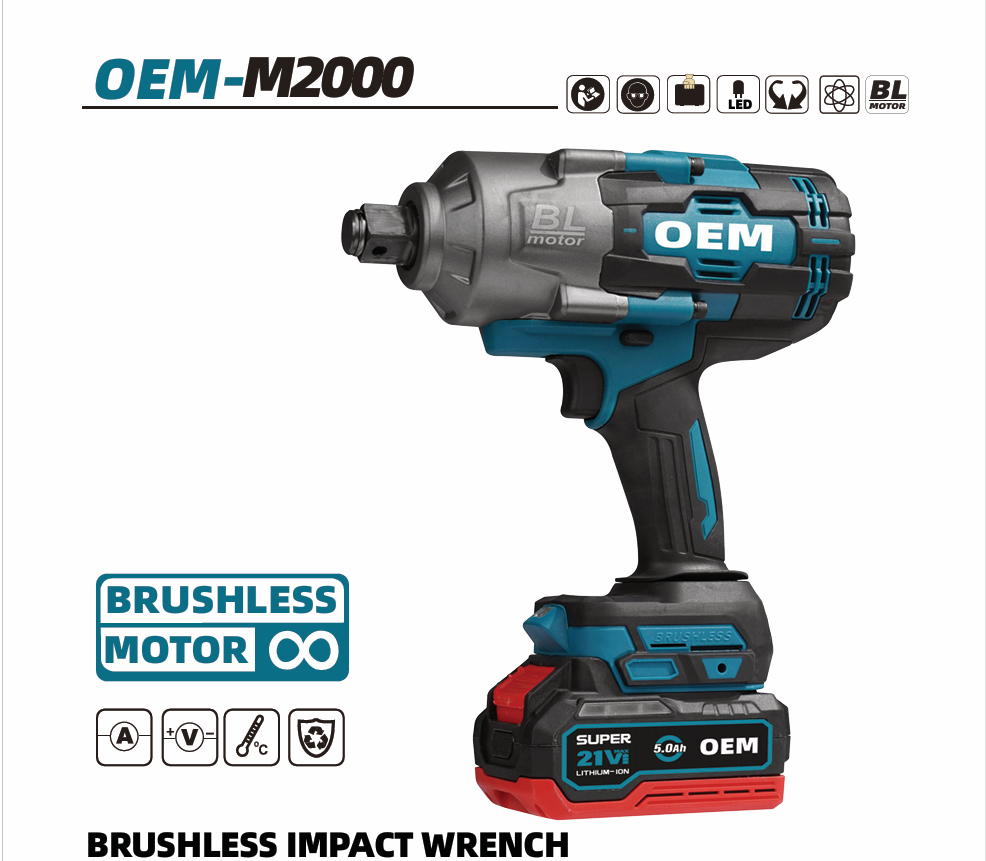
Auxiliary Handle: Standard on high-torque drills, improving operational stability and offsetting recoil.
The adjustment logic of the high/low speed gear shift is similar to that of a car's manual transmission. The core principle is "use low speed for heavy work and high speed for light work". The specific scenario correspondences are as follows:

Common Mistakes: Using low speed to tighten small screws can easily damage the screws; using low speed to batch tighten drywall screws will greatly reduce work efficiency. Be sure to switch according to the operation scenario.
Many people ignore the auxiliary handle, but as the torque of lithium-ion drills increases, it is a key accessory to ensure personal safety. When the drill is drilling large-sized holes (especially hole saw operations), if the drill bit suddenly jams, the strong recoil can easily cause wrist sprains or even fractures.
Correct Usage:
When using a thick drill bit (usually diameter > 10mm) or a hole saw, the auxiliary handle must be installed.
During operation, hold the main handle and the auxiliary handle with both hands respectively to keep the body stable and avoid single-handed operation.

The numbers on the torque adjustment ring (such as 1-15, 1-21, etc.) represent the torque level. The larger the number, the stronger the torque, but the number has no direct relationship with the specific torque unit. After the maximum number, there is usually a drilling gear or impact gear (the icon is mostly a drill bit or a hammer + drill bit).
Adjustment Skills for Different Scenarios:
Screwing Scenario: It is recommended that novices start from the minimum gear (gear 1). If the screw is found to be not tightened, gradually increase the torque to avoid damaging the workpiece or the screw due to excessive torque. For example, when tightening small screws for furniture assembly, gears 1-3 are usually sufficient; when tightening thicker expansion screws, it is necessary to adjust to gears 5-8.
Drilling Scenario: When drilling hard materials such as metal and walls, the torque ring must be adjusted to the maximum drilling gear or impact gear to ensure sufficient torque, which can not only work efficiently but also avoid drill bit jamming due to insufficient torque.

Improper installation of screw bits or drill bits can easily cause screws to slip and drill bits to fall off, affecting work efficiency. The correct steps are as follows:
Loosen the self-locking chuck to enough space, insert the bit or drill bit into the bottom of the chuck, and ensure it is fully inserted.
Gently press the switch to make the bit/drill bit rotate slowly, and check its rotational concentricity (if there is obvious shaking, it means the installation is skewed).
After confirming that the concentricity is good, manually tighten the chuck again to avoid falling off during high-speed rotation.

Check the lithium battery power before operation. Charge it in time when the power is insufficient to avoid unstable torque caused by low-voltage operation.
Choose the appropriate drill bit/bit according to the material. Use high-speed steel drill bits for metal drilling and impact drill bits for concrete drilling.
If you encounter a hard spot during drilling, do not press hard. Instead, advance slowly to prevent the drill bit from cracking.
After the operation is completed, clean the debris in the drill chuck and adjust the torque ring to the lowest gear for easy next use.
When the lithium battery is not used for a long time, charge it to 50%-70% and store it to avoid full or low power status and extend the battery life.